Introduction
Fresnel is a python library that can ray trace publication quality images in real time. It provides a simple python API to define a scene consisting of any number of geometry primitives and render it to an output image.
To start, import the fresnel python module.
[1]:
import fresnel
Define a scene
A Scene defines a coordinate system, the camera view, the light sources, and contains a number of geometry primitives. Create a new Scene class instance. Scenes come with a default automatic camera that fits the geometry and a default set of lights.
[2]:
scene = fresnel.Scene()
Add geometry to the scene
A Scene may consist of any number of geometry objects. Each geometry object consists of N primitives of the same type, and a material that describes how the primitives interact with light sources. Create 8 spheres with radius 1.0.
[3]:
geometry = fresnel.geometry.Sphere(scene, N=8, radius=1.0)
Geometry objects have a number of per-primitive attributes. These are exposed with an interface compatible with numpy arrays, and can copy data from numpy arrays efficiently. Set the positions of the spheres:
[4]:
geometry.position[:] = [[1,1,1],
                        [1,1,-1],
                        [1,-1,1],
                        [1,-1,-1],
                        [-1,1,1],
                        [-1,1,-1],
                        [-1,-1,1],
                        [-1,-1,-1]]
Set the material of the geometry object to a rough blue surface:
[5]:
geometry.material = fresnel.material.Material(color=fresnel.color.linear([0.25,0.5,0.9]),
                                              roughness=0.8)
Set the camera
The camera defines the view of the scene. fresnel can auto-fit a camera to the scene’s geometry:
[6]:
scene.camera = fresnel.camera.Orthographic.fit(scene)
Render the scene
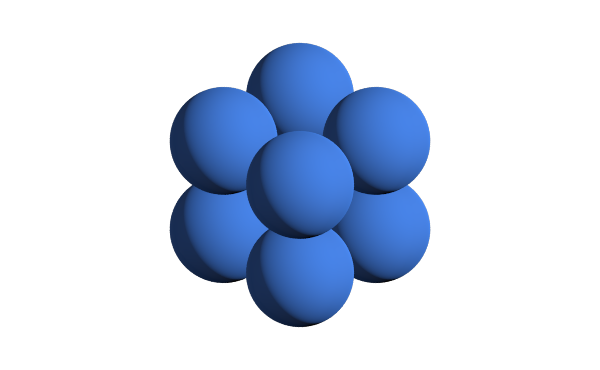
preview quickly renders the scene from the view point of the camera. Anti-aliasing is on by default to smooth edges in the image.
[7]:
fresnel.preview(scene)
[7]:
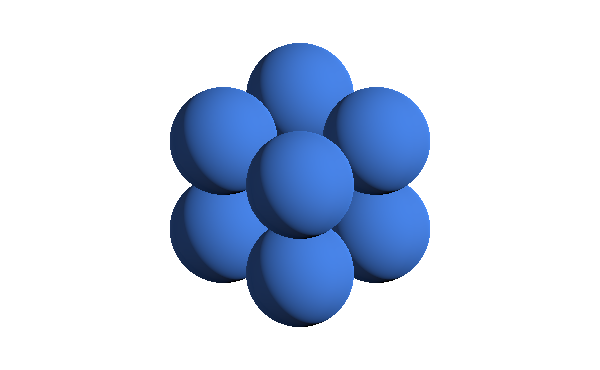
Disable anti-aliasing if you desire a quicker render.
[8]:
fresnel.preview(scene, anti_alias=False)
[8]:
preview only applies direct lighting. Use pathtrace to account for indirect lighting. (anti-aliasing is always enabled when path tracing).
[9]:
fresnel.pathtrace(scene)
[9]:
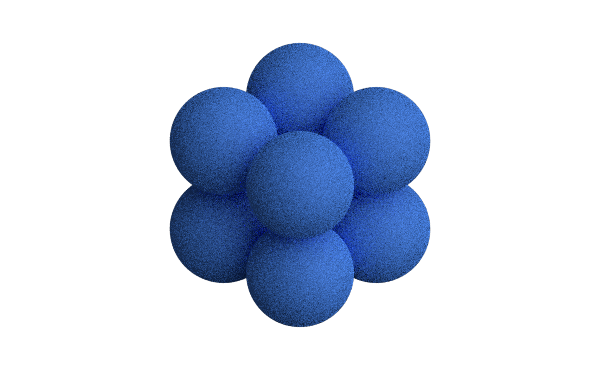
The resulting image is noisy. Increase the number of light samples to obtain a clean image.
[10]:
fresnel.pathtrace(scene, light_samples=40)
[10]:

Save output
preview and pathtrace return output buffers that can be used like HxWx4 RGBA numpy arrays. You can pass this standard format on to other python libraries that work images (e.g. matplotlib).
[11]:
out = fresnel.preview(scene)
print(out[:].shape)
print(out[:].dtype)
(370, 600, 4)
uint8
Use Pillow to save the rendered output to a png file with transparency.
[12]:
import PIL
[13]:
image = PIL.Image.fromarray(out[:], mode='RGBA')
image.save('output.png')
To save a JPEG, create an RGB image. This ignores the alpha channel, so the scene background color will show.
[14]:
image = PIL.Image.fromarray(out[:,:,0:3], mode='RGB')
image.save('output.jpeg')
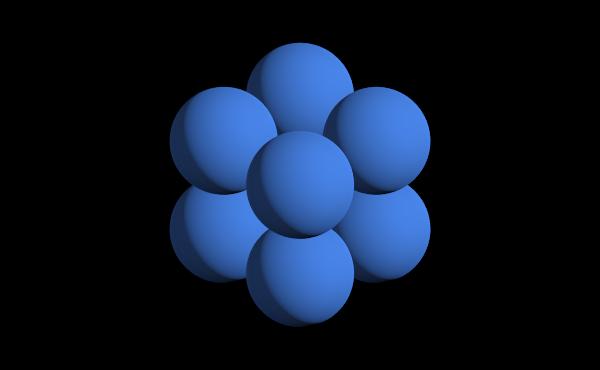
This is what output.jpeg looks like (the default background color is black):
[15]:
import IPython.display
IPython.display.Image('output.jpeg')
[15]:
This page was generated from a jupyter notebook. You can download and run the notebook locally from the fresnel-examples repository.