Scene properties
Each Scene has a background color and alpha, lights, and a camera.
[1]:
import fresnel
import math
scene = fresnel.Scene()
position = []
for i in range(6):
    position.append([2*math.cos(i*2*math.pi / 6), 2*math.sin(i*2*math.pi / 6), 0])

geometry = fresnel.geometry.Sphere(scene, position = position, radius=1.0)
geometry.material = fresnel.material.Material(solid=0.0, color=fresnel.color.linear([1,0.874,0.169]))
geometry.outline_width = 0.12
scene.camera = fresnel.camera.Orthographic.fit(scene)
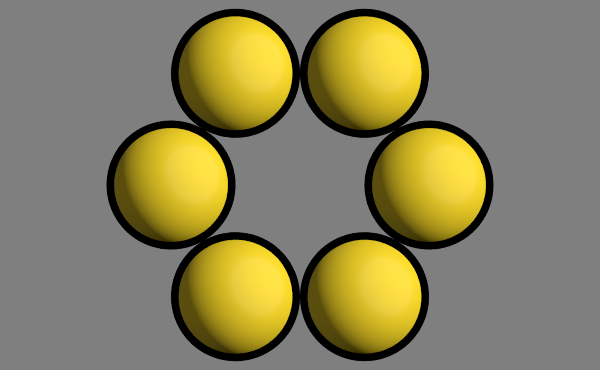
Background color and alpha
The default background color is black (0,0,0) and the background alpha is 0 (transparent).
[2]:
scene.background_color
[2]:
array([0., 0., 0.], dtype=float32)
[3]:
scene.background_alpha
[3]:
0.0
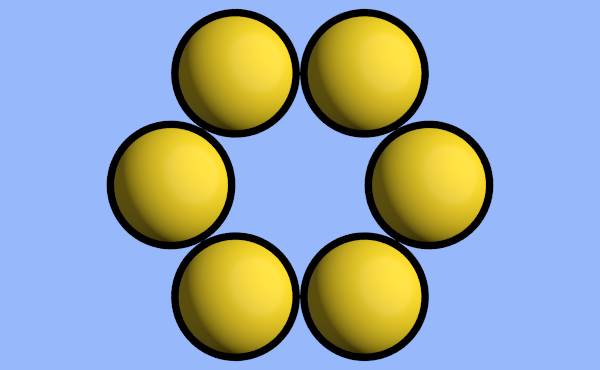
The background color is applied to any pixel in the output image where no object is present. Change the background alpha to only partially transparent:
[4]:
scene.background_alpha = 0.5
[5]:
fresnel.preview(scene)
[5]:
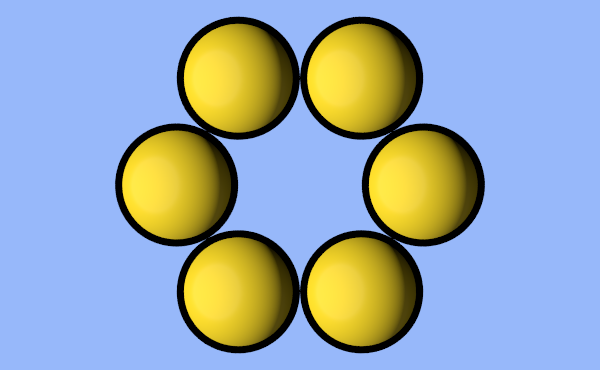
Set a solid background color:
[6]:
scene.background_alpha = 1.0
scene.background_color = fresnel.color.linear([0.592, 0.722, 0.98])
[7]:
fresnel.preview(scene)
[7]:
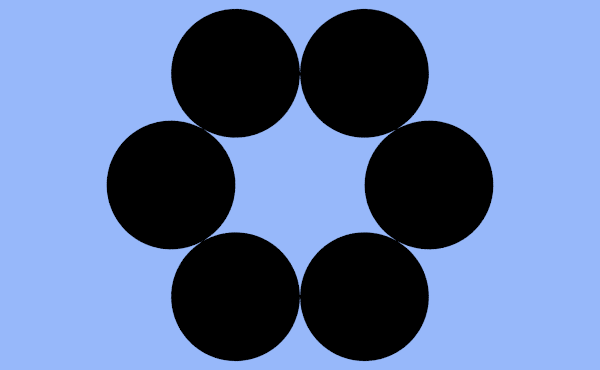
Light sources
Light sources light the objects in the scene. Without lights, all objects are black.
[8]:
scene.lights.clear()
[9]:
fresnel.preview(scene)
[9]:
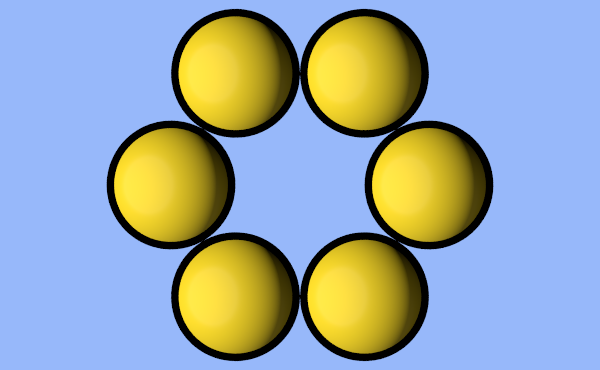
Fresnel defines several standard lighting setups that may be easily applied.
[10]:
scene.lights = fresnel.light.butterfly()
[11]:
fresnel.preview(scene)
[11]:

You can modify individual lights.
[12]:
scene.lights[0].direction = (-1, 0, 1)
[13]:
fresnel.preview(scene)
[13]:
Camera
The camera defines the view to render into the scene. The default camera is an orthographic camera at (0,0,100), look at (0,0,0), and has a height of 100:
[14]:
scene2 = fresnel.Scene()
print(scene2.camera)
fresnel.camera.Orthographic(position=(0.0, 0.0, 100.0), look_at=(0.0, 0.0, 0.0), up=(0.0, 1.0, 0.0), height=100.0)
You can automatically fit an orthographic camera to the scene with camera.Orthographic.fit. Call it after defining all of the geometry in your scene.
[15]:
scene.camera = fresnel.camera.Orthographic.fit(scene)
A camera is defined by its position, look-at point, up vector and height of the view into the scene. All of these quantities are in scene coordinates.
[16]:
scene.camera = fresnel.camera.Orthographic(position=(0,0,2), look_at=(0,0,0), up=(0,1,0), height=6)
fresnel.preview(scene)
[16]:
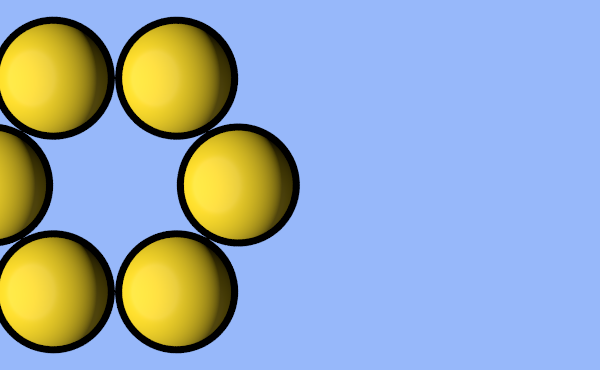
You can modify these parameters individually.
[17]:
scene.camera.position = (3, 0, 10)
scene.camera.look_at=(3,0,0)
[18]:
fresnel.preview(scene)
[18]:
Print the full representation of the camera.
[19]:
print(repr(scene.camera))
fresnel.camera.Orthographic(position=(3.0, 0.0, 10.0), look_at=(3.0, 0.0, 0.0), up=(0.0, 1.0, 0.0), height=6.0)
You can copy and paste this text to reproduce the same camera elsewhere.
[20]:
scene.camera = fresnel.camera.Orthographic(position=(3.0, 0.0, 10.0),
                                           look_at=(3.0, 0.0, 0.0),
                                           up=(0.0, 1.0, 0.0),
                                           height=6.0)
This page was generated from a jupyter notebook. You can download and run the notebook locally from the fresnel-examples repository.