Tracer methods
Most of the tutorials use fresnel.preview() and fresnel.pathtrace() to render output images. This is a convenience API, and there are cases where it is not appropriate. To render many frames, such as in a movie or interactive visualization, use a Tracer directly to avoid overhead.
[1]:
import fresnel
import math
from matplotlib import pyplot
%matplotlib inline
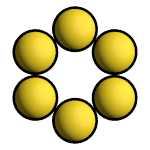
device = fresnel.Device()
scene = fresnel.Scene(device=device)
position = []
for i in range(6):
position.append([2*math.cos(i*2*math.pi / 6), 2*math.sin(i*2*math.pi / 6), 0])
geometry = fresnel.geometry.Sphere(scene, position = position, radius=1.0)
geometry.material = fresnel.material.Material(solid=0.0, color=fresnel.color.linear([1,0.874,0.169])*0.9)
geometry.outline_width = 0.12
scene.camera = fresnel.camera.Orthographic.fit(scene, view='front', margin=0.2)
Common Tracer operations
The Tracer must use the same device as the Scenes it renders. Each Tracer maintains an output image, and the width w and height h must be defined when the tracer is created.
[2]:
tracer = fresnel.tracer.Preview(device=device, w=300, h=300)
Rendering and accessing output images
The render method renders the output.
[3]:
out = tracer.render(scene)
The return value of render is a proxy reference to the internal image buffer of the Tracer. You can access with a numpy array like interface.
[4]:
out[100,100]
[4]:
array([139, 121, 21, 255], dtype=uint8)
The output object also provides an interface for jupyter to display the image.
[5]:
out
[5]:

tracer.output also accesses the output buffer.
[6]:
tracer.output
[6]:
The tracer can render a modified scene without the initialization overhead.
[7]:
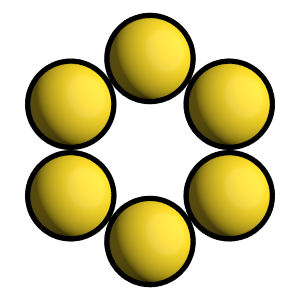
scene.camera.up = (1,0,0)
tracer.render(scene);
After rendering, existing references to the output buffer will access the newly rendered image.
[8]:
out
[8]:

Evaluate image exposure
Tracer provides several methods to evaluate image exposure. Enable highlight warnings to flag overexposed pixels in the output image.
[9]:
tracer.enable_highlight_warning()
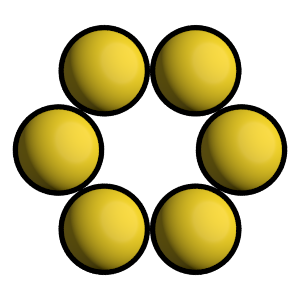
The test image is exposed correctly, there are no warning pixels.
[10]:
tracer.render(scene)
[10]:
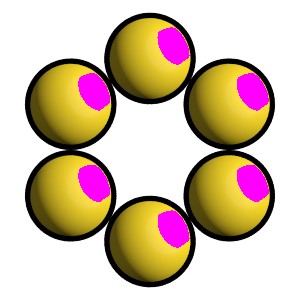
Make the main light brighter to show the highlight warnings.
[11]:
scene.lights[0].color = (1.2, 1.2, 1.2)
tracer.render(scene)
[11]:
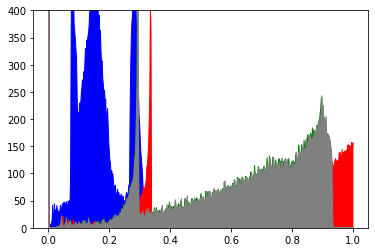
Tracer can also compute the image histogram to evaluate image exposure.
[12]:
L, bins = tracer.histogram()
pyplot.fill_between(bins, L[:,3], color='blue');
pyplot.fill_between(bins, L[:,2], color='green');
pyplot.fill_between(bins, L[:,1], color='red');
pyplot.fill_between(bins, L[:,0], color='gray');
pyplot.axis(ymax=400, ymin=0)
[12]:
(-0.04794921875, 1.04990234375, 0.0, 400.0)
[13]:
tracer.disable_highlight_warning()
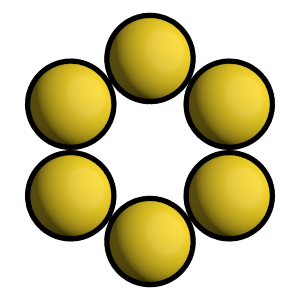
Resizing the output buffer
Call resize to set a new size for the output. When the image is resized, any existing rendered output is lost.
[14]:
tracer.resize(w=150, h=150)
[15]:
tracer.output
[15]:

The next call to render will render into the new output size.
[16]:
tracer.render(scene)
[16]:
The Preview tracer
The Preview tracer renders output images quickly with approximate lighting effects.
[17]:
tracer = fresnel.tracer.Preview(device=device, w=300, h=300)
A different random number seed will result in different jittered anti-aliasing samples.
[18]:
tracer.seed = 12
[19]:
tracer.render(scene)
[19]:
Here is a different scene rendered with the Preview tracer:
[20]:
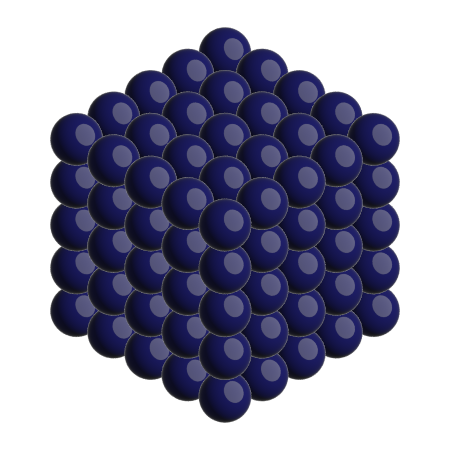
position = []
for k in range(5):
    for i in range(5):
        for j in range(5):
            position.append([2*i, 2*j, 2*k])
scene = fresnel.Scene(device)
scene.lights[1].theta = math.pi

geometry = fresnel.geometry.Sphere(scene, position = position, radius=1.0)
geometry.material = fresnel.material.Material(color=fresnel.color.linear([0.1,0.1,0.4]),
                                              roughness=0.1,
                                              specular=1.0)
scene.camera = fresnel.camera.Orthographic.fit(scene)
[21]:
tracer.resize(w=450, h=450)
tracer.aa_level = 3
tracer.render(scene)
[21]:
The Path tracer
The Path tracer supports soft lighting, reflections, and other lighting effects.
Here is the same scene with the path tracer:
[22]:
path_tracer = fresnel.tracer.Path(device=device, w=450, h=450)
[23]:
path_tracer.sample(scene, samples=64, light_samples=40)
[23]:
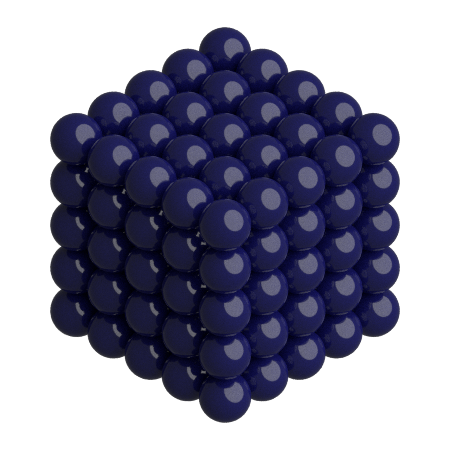
The Path tracer performs many independent samples and averages them together. reset() starts averaging a new image.
[24]:
path_tracer.reset()
render() accumulates a single sample into the resulting image.
[25]:
path_tracer.render(scene)
[25]:
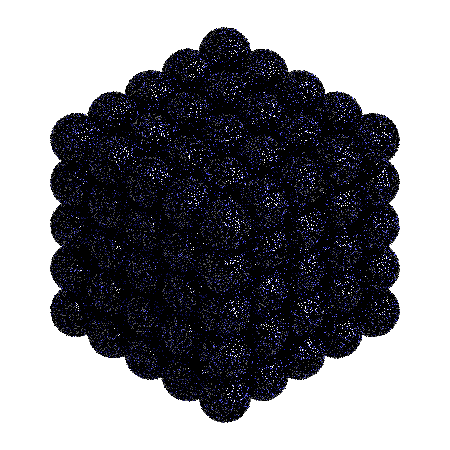
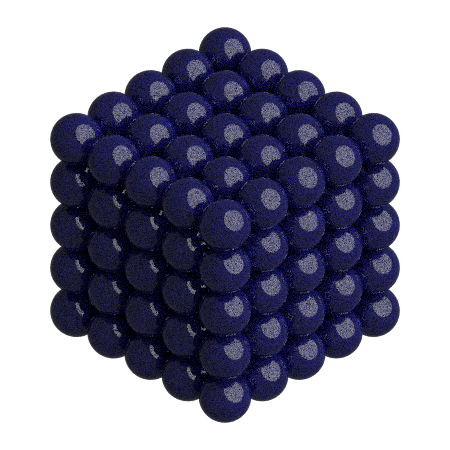
The resulting image is noisy, average many samples together to obtain a clean image.
[26]:
for i in range(64):
    path_tracer.render(scene)

path_tracer.output
[26]:
This page was generated from a jupyter notebook. You can download and run the notebook locally from the fresnel-examples repository.